A widget is just like a component block. Adding a widget to your app is a simple procedure and only takes a few steps. With widgets, you have the freedom to place as many components ,in whichever format you prefer. You can create a widget with these simple steps:
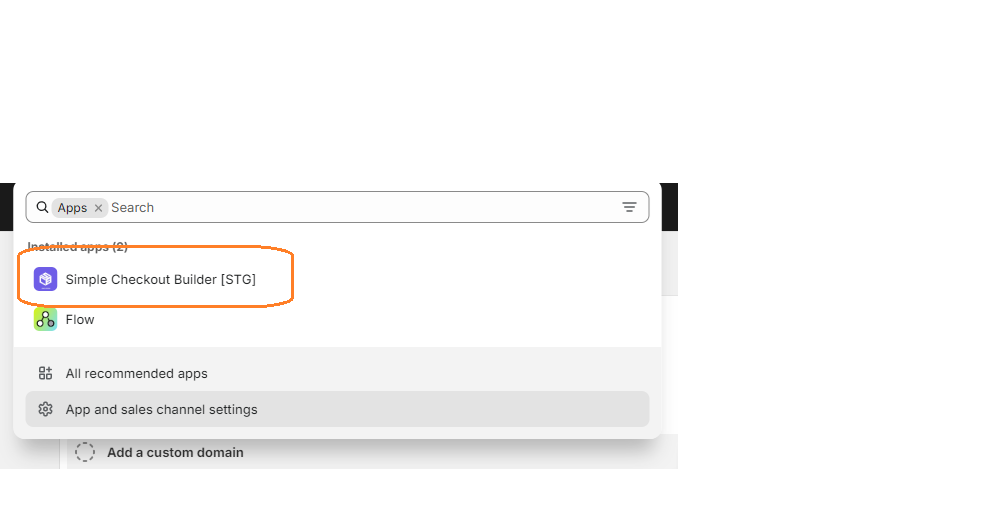
- After installing the app from the shopify app store, Login in to your admin dashboard and click on the ‘Apps’ section in the left side panel.

2. Select the Simple Checkout Builder App and then choose the Widgets menu in the left side panel.


3. Click on the New Widget Button then enter the name of the widget. Next, click on the add button under Widget Editor to add any widget of your choice.
4. From the widget menu, select any widget and click the Add button at the bottom left. For the purpose of this example, We will use a banner. Click here to learn about the various widgets available.
5. Fill in the properties of the widget. For the Banner, you can enter an optional title, the type of the Banner and indicate whether the user will be able to collapse it or not.
6. Click the Save button to save the changes
7. Next, from the side panel to the left, select All Widgets to reveal the list of widgets you have created. Click on the copy icon on the widget you just created to copy the widget’s ID
8. Click on the settings menu on the left panel. Select Checkout then select Customise.
9. Click Add app block then select the SCB app from the menu

10. Paste the Widget ID you copied earlier and enter a Widget name. This name given to your widget will help you easily differentiate it from other widgets. In essence, you can use the name to keep track of your widget, we don’t use the name. Finally, click the save button on the top right

11. Go to the checkout of your app and watch your widgets work.
